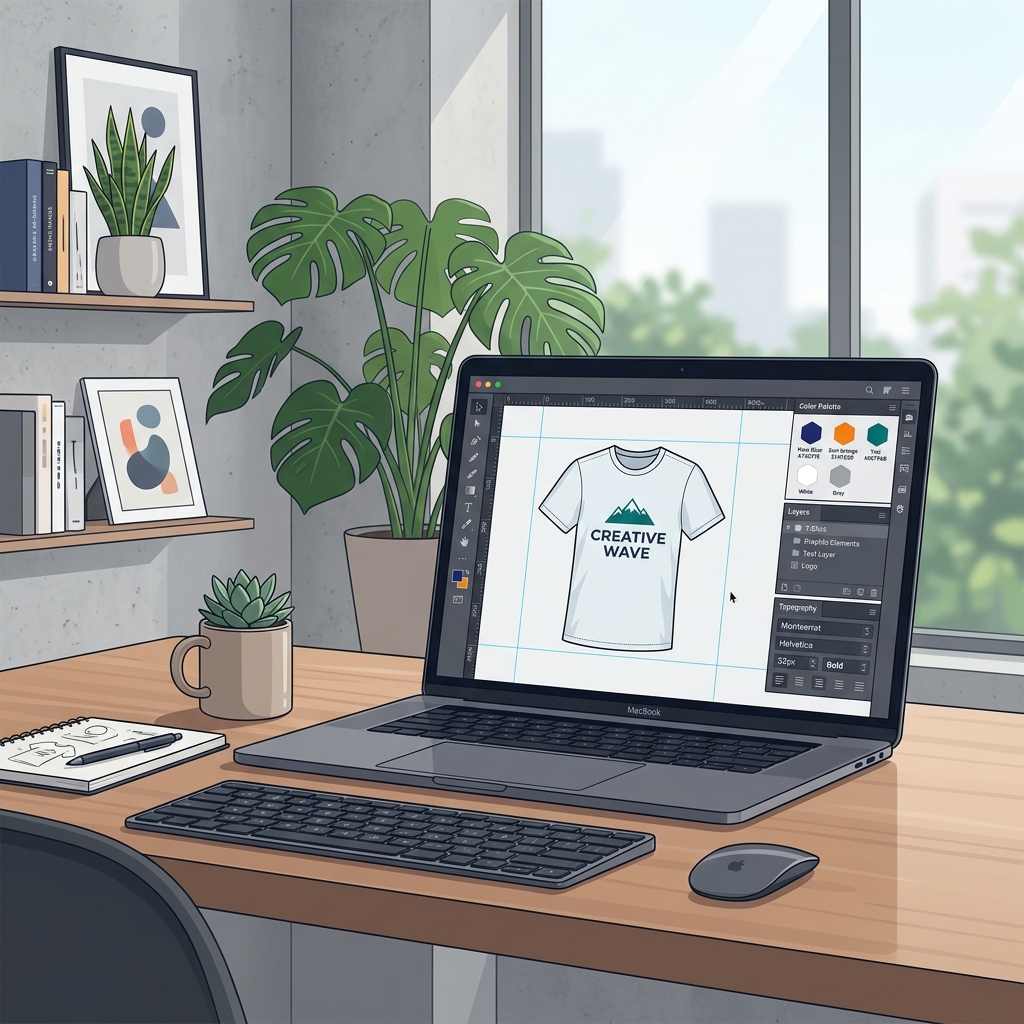
Creating a custom t-shirt or hoodie design is a wonderful outlet for self-expression, brand promotions, or merchandising. However, taking a concept that looks good on a computer monitor and translating it onto a cotton surface can sometimes lead to unexpected surprises if file setups are incorrect.
At mymytee, we want to ensure your custom apparel turns out exactly as you visualize. In this guide, our production designers share expert tips on preparing vector files, setting resolution standards, understanding print colors, and choosing placements.
1. File Format Checklist: Vector vs. Raster
Graphic files fall into two primary categories: Vectors (SVG, AI, EPS) and Rasters (PNG, JPEG, PSD).
- Vector Files (SVG, AI): These files consist of mathematical coordinates and shapes. They can be scaled infinitely without losing quality. Vectors are the gold standard for Precision Embroidery because embroidery machines require clean lines and vector paths to map stitches.
- Raster Files (PNG with Transparent Background): These files consist of a grids of pixels. They are perfect for DTF Heat Transfers because they support smooth shadows, photorealistic images, and complex textures.
Pro Tip: Always export print-ready PNG files with a transparent background. If you upload a JPEG, it will contain a solid white background block that will be printed unless manually edited.
2. The 300 DPI Resolution Rule
For digital DTF transfers, file resolution is critical. The standard resolution for print-ready graphics is 300 DPI (Dots Per Inch).
If you download an image from the web, it is usually saved at 72 DPI to load quickly. While it may look sharp on your mobile screen, printing it on a t-shirt at that resolution will result in pixelated, blurry, or fuzzy edges. Ensure that your design software canvas (e.g., Photoshop or Illustrator) is set to 300 DPI and a physical canvas size matching your print dimensions (like 10" x 12").
Quick Checklist for High-Quality Graphics:
- Minimum resolution of 300 DPI at actual print size.
- Transparent background (no solid white boxes around your logo).
- Convert text fonts to outlines/curves so they don't get replaced.
- Avoid transparent glowing borders (make borders solid for print quality).
3. Color Profiles: RGB vs. CMYK
Computer monitors and phone screens emit light using the RGB color space. Apparel printers, however, lay down physical inks using the CMYK color system.
Because screens can display a wider gamut of colors than physical inks can reproduce, extremely bright neon greens, glowing blues, or hot pinks may look slightly less saturated when printed. To get the most accurate color proof, configure your design application's color profile to CMYK (e.g., U.S. Web Coated SWOP v2) before exporting.
4. Logo Placement & Sizing Guidelines
Where you place your graphic defines the style and balance of the garment. Here are standard industry placements:
- Left Chest: Ideal for corporate logos or subtle branding. Standard sizing is between 3" to 4" wide. This placement works incredibly well for both embroidery and small DTF prints.
- Full Front Center: Perfect for statement graphics, custom illustrations, or merch designs. Sizing ranges from 9" to 11.5" wide. For comfort, keep prints on lightweight tees soft by choosing DTF.
- Cap Center: Structured embroidery hats look best with logos between 2" to 2.25" tall and up to 4.5" wide.
5. Let's Get Started!
Now that you know the basics of prepping your designs, you are ready to create! Mymytee's 2D Design Studio supports transparent PNG uploads and handles file scaling automatically.
Go ahead and check out our Custom Studio Editor to upload your graphics, select your blank tees, hoodies, or caps, and preview your premium customized gear in real-time.